Welcome to my classroom! I thought I would take you on a music classroom tour of how I set up, organized, and decorated my space this year. It’s my second year in this classroom, so I was able to brainstorm over the summer to see what I wanted to change up from last year.
COOL DOWN AREA
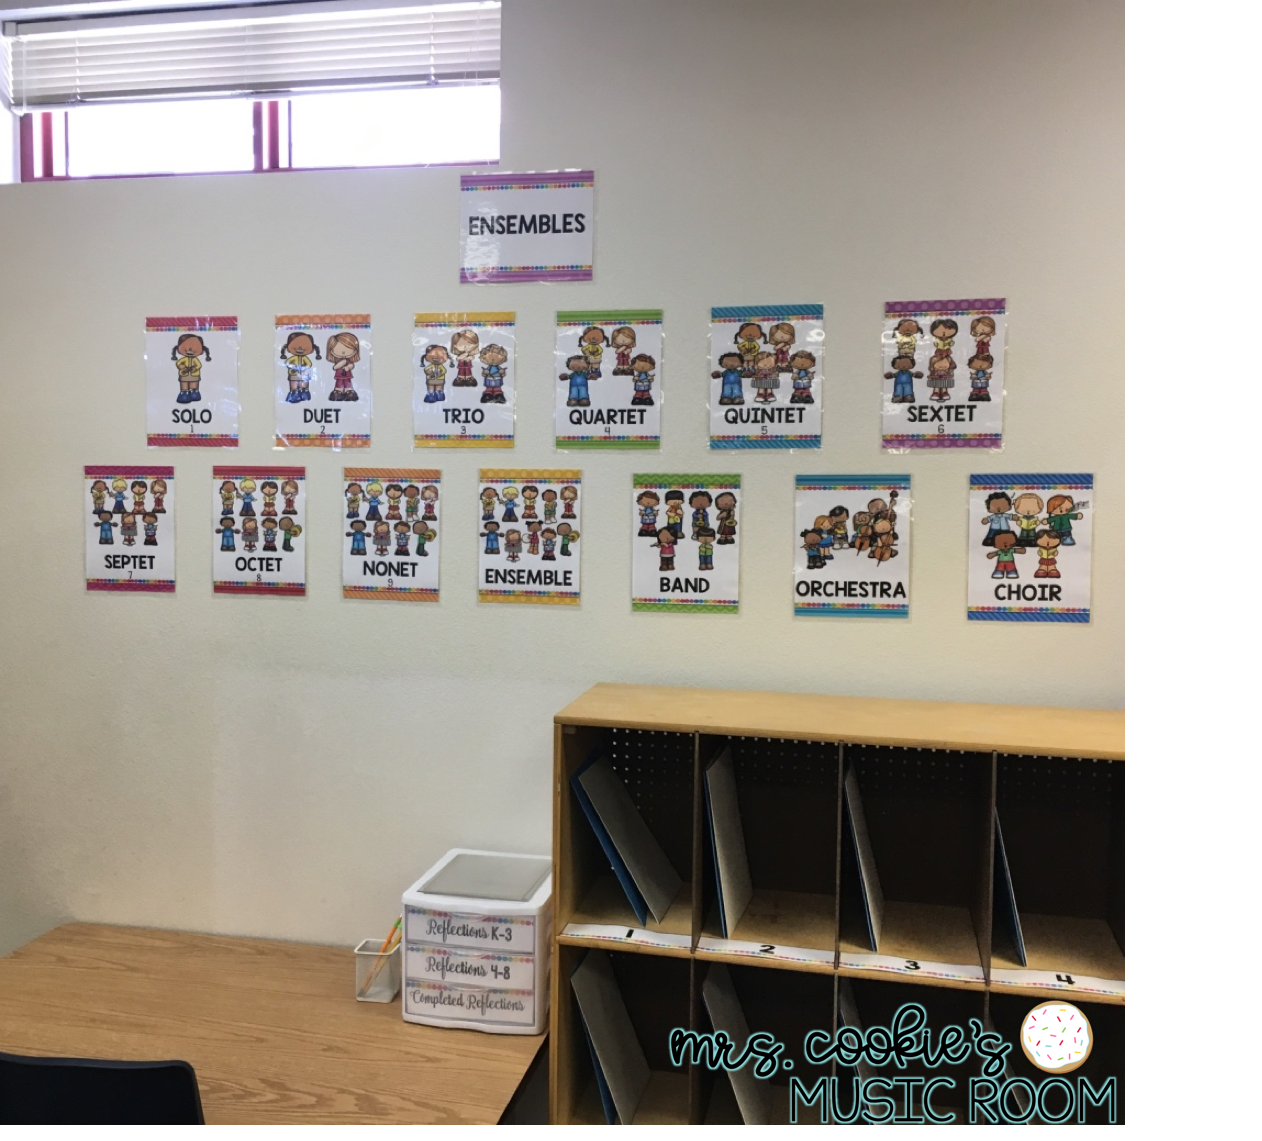
When you first enter my classroom, this is on the left. The table is the cool down area. This is where students go to calm down and reflect on their behavior. For more information about behavior consequences in my classroom, you can watch this video.
WORD WALL
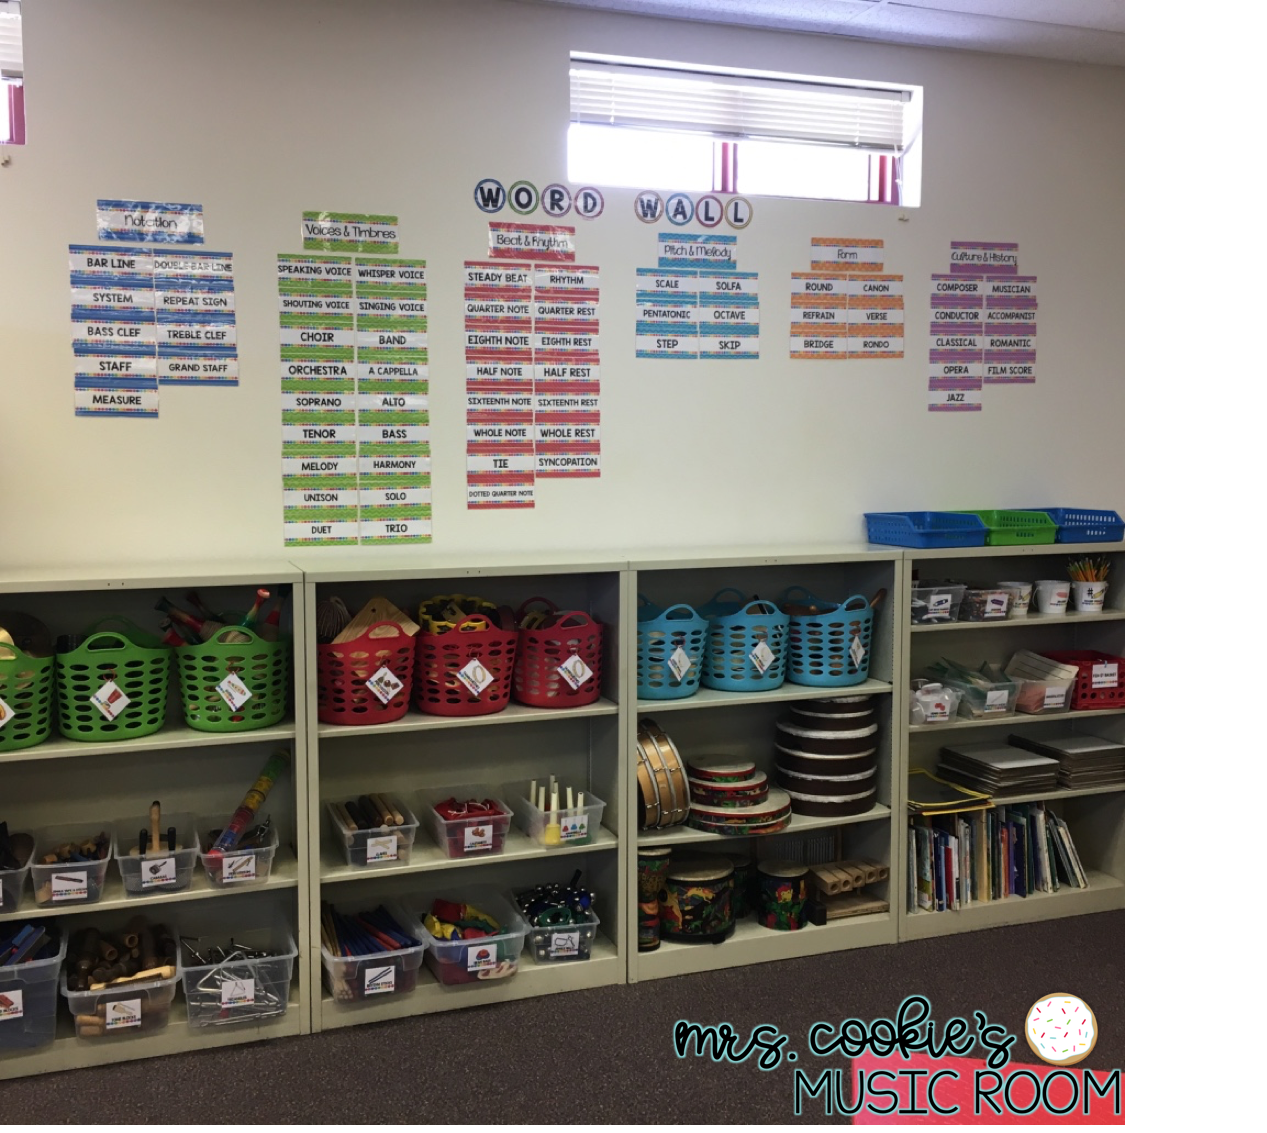
Next on this music classroom tour is the word wall. On the shelves are most of the classroom instruments, and some other supplies, like pencils, crayons, and dry erase boards and markers. The baskets are from the Dollar Tree, and the clear bins are from Walmart. I wanted to label all of my storage, so I hot glued labels on the bins, and used binder rings to attach labels to the baskets. On the bottom right shelf are most of my picture books, though there are many more in my sub tub. I have a picture book obsession, and I’m not sorry!
BEHAVIOR WALL
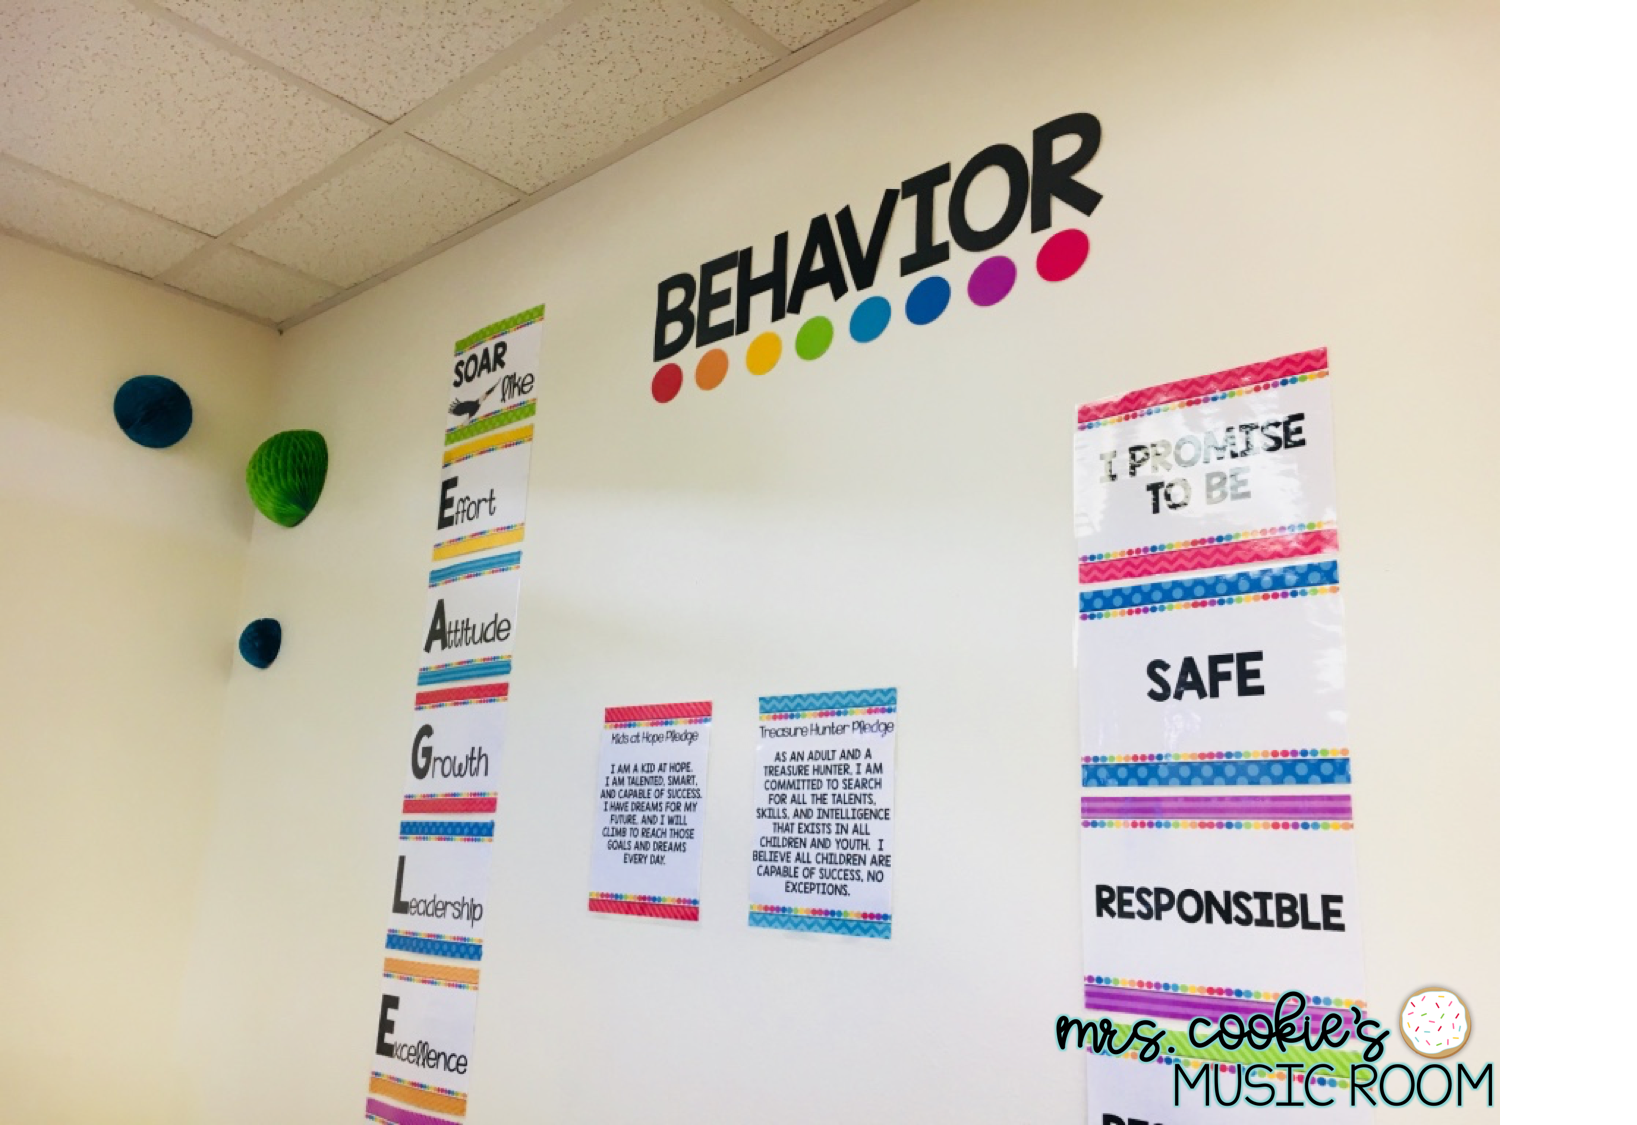
To the left of the whiteboard is our behavior wall. We have a few school-wide systems in place, which need to be represented in each classroom. Our PBIS rules, our Kids at Hope pledges, and other school-specific programs are in this prominent place, where the students can always see the expectations. I also added some paper lanterns on the wall. In my district, we aren’t allowed to hang anything from the ceiling, so I improvised by attaching them to the wall.
MAIN VIEW
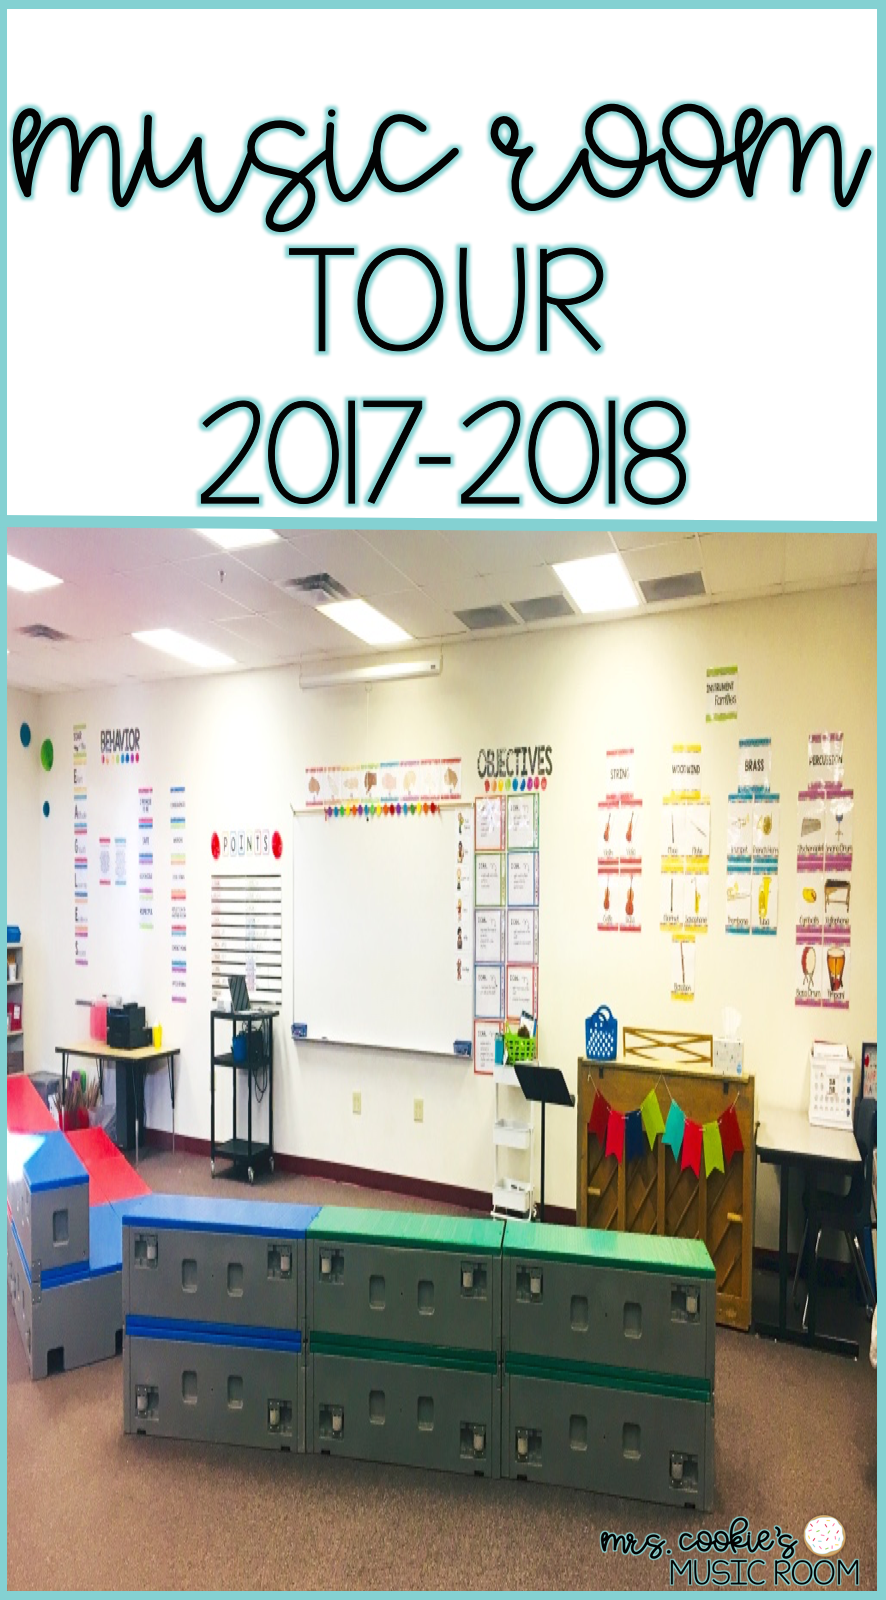
Below is the view from the risers. My students sit on Wenger Flip Forms, so that they can see the whiteboard, behavior expectations, and word wall from their seats. When we do movement activities, we walk around behind the risers to the big open space behind them, so that we have plenty of space to move. To the left of the whiteboard is our Points Chart, where classes earn points for being safe, respectful, and responsible. If they earn at least 25 points in a quarter, they get 20 minutes (half a period) of choice time, where they vote on their favorite music class activities. If they earn at least 50 points, they get an entire class period (40 minutes) of choice time. This is usually very good motivation for my classes to work hard.
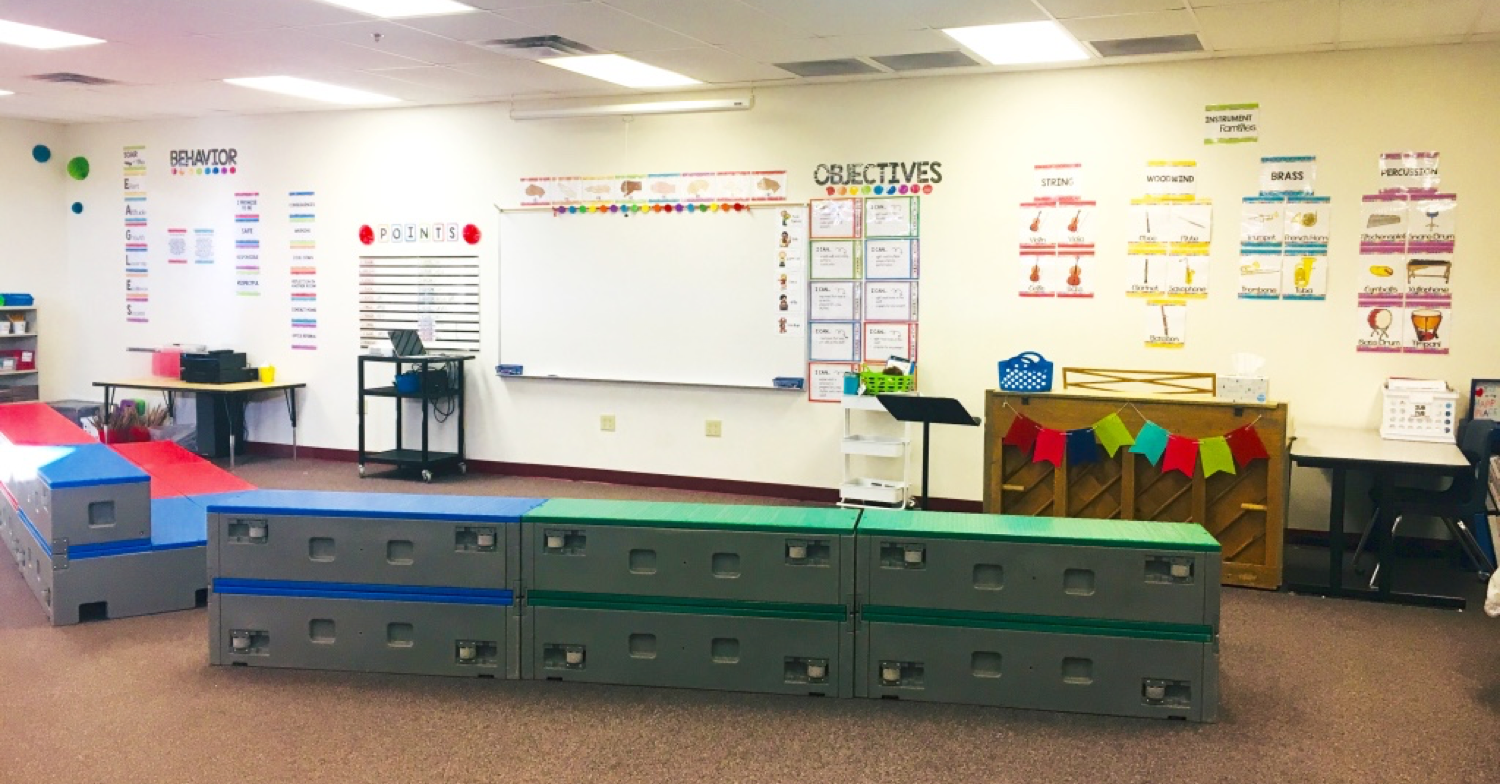
Above the whiteboard are our Curwen hand signs posters. Our visual music schedule is always displayed on the right side of the whiteboard, using magnet tape. I keep the extra schedule cards in the blue basket on top of the piano. The objectives are always posted in dry erase pockets by grade level, so that I can quickly switch them as needed. The little white cart underneath the objectives is from Michaels, and it is where I keep the manipulatives and materials I need for the week’s lessons.
RIGHT WALL
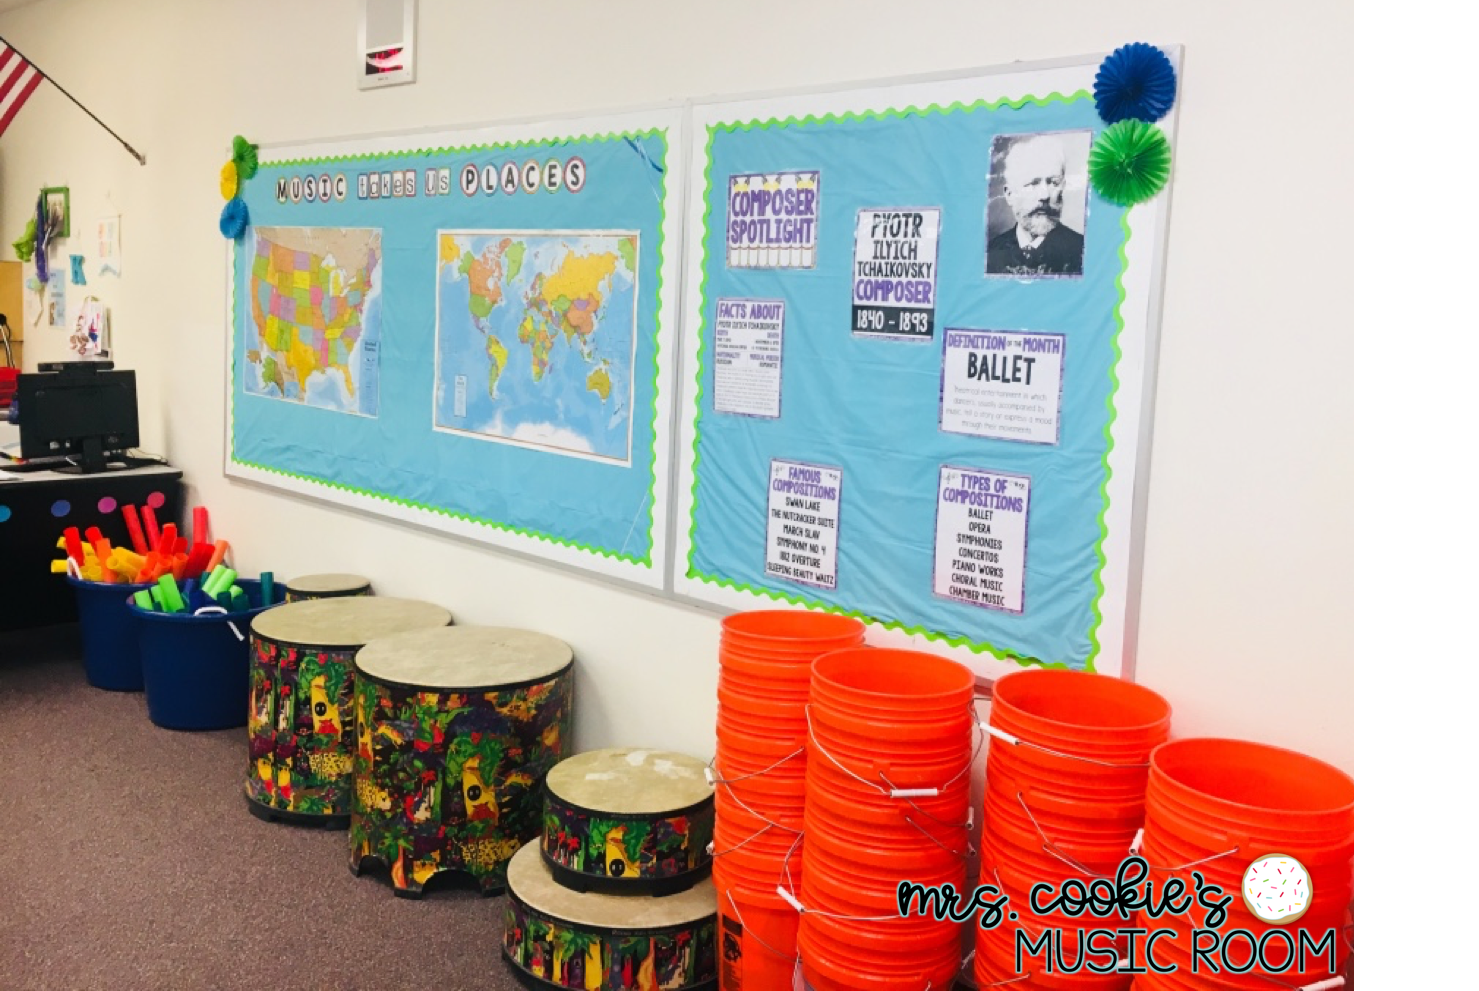
On the right wall are my bulletin boards and more percussion instruments. I like to keep maps available so we can reference where a song, musician, composer, or dance is from. The composer bulletin board changes every two months, but it’s always a set from Music with Sara Bibee. You can find this bulletin board kit by following this link.
ORFF AREA
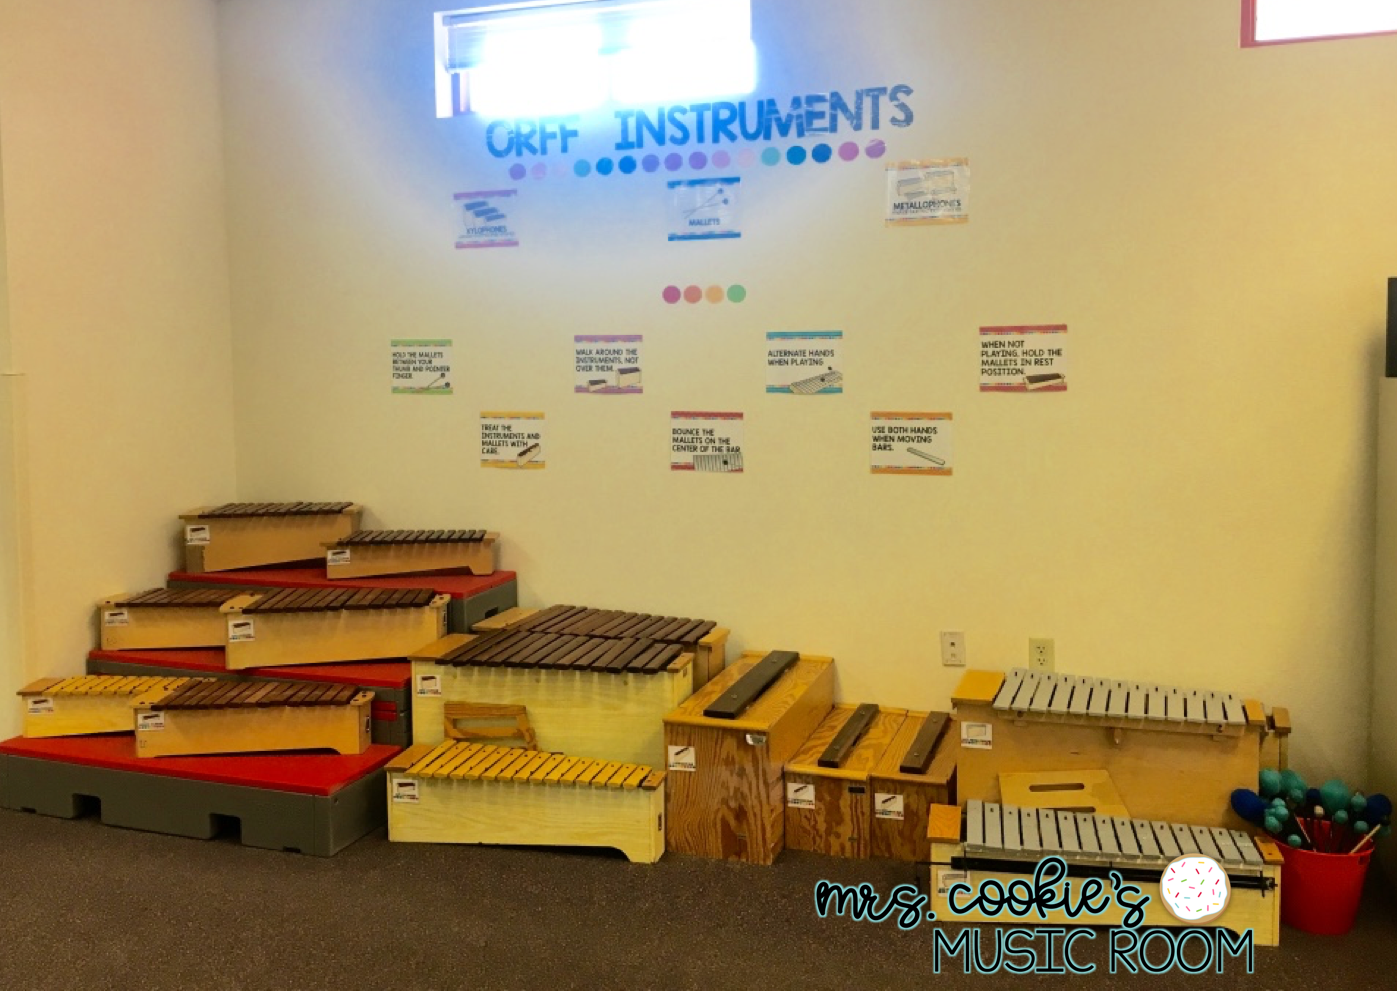
Along the back wall is where we keep our Orff instruments. I had one extra Flip Form, so I put it to use storing xylophones on it. I labeled each instrument, and put our Orff instrument expectations on the wall above them. My favorite part about this section? My husband Steve was kind enough to rewrap most of the mallets. He’s a keeper!
That’s about it for my music classroom tour. Most of what you see on the walls is included in my Rainbow Dots Music Room Decor Bundle, which you can shop here. Once I finish organizing my storage closet, I’ll give you a tour of that, as well! Before I go, here’s another look at my classroom in the midst of setting it up this July. What do you like about your classroom/cart setup and decor? What would you like to change?

No Comments